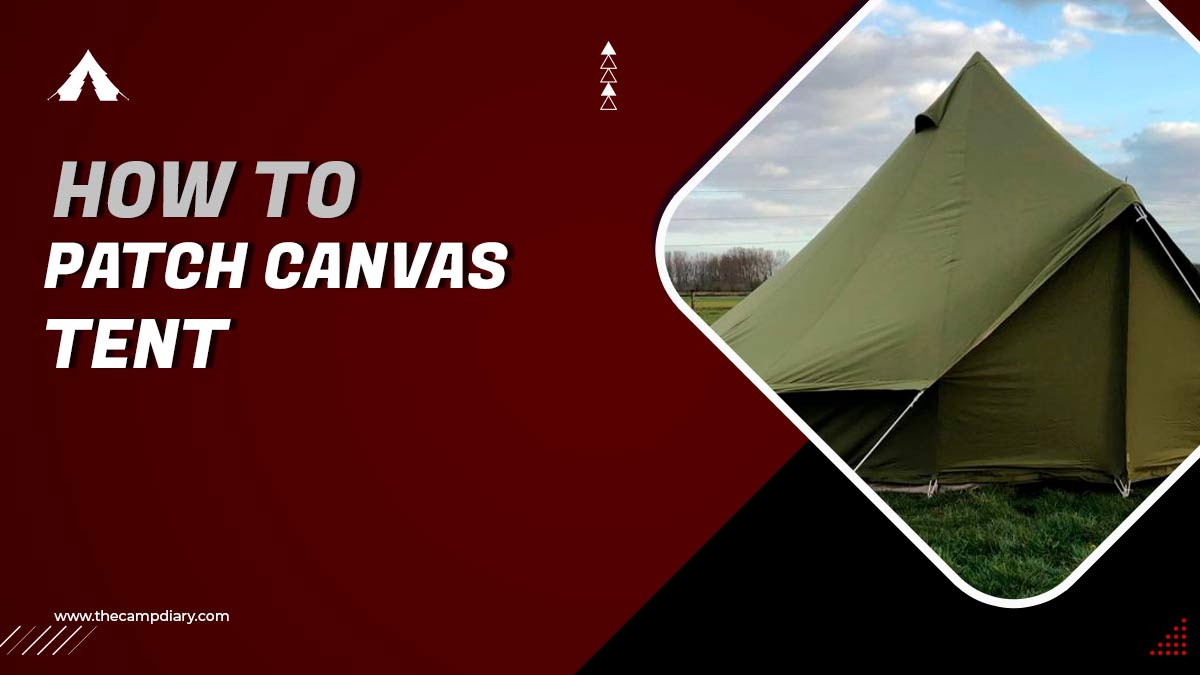
Whether you’re out camping and your tent gets a tear, or you just want to patch up some small holes, it’s easy to do! In this blog post, we’ll show you how to patch a canvas tent using a simple adhesive and some fabric. Read on for tips and tricks for the perfect repair job!
How To Patch A Canvas Tent Step-By-Step detailed guide
Step 1: Sew The Holes Shut
If your tent has any holes in it, the first thing you’ll want to do is sew them shut. This will help to prevent any further damage to the fabric and will make it easier to apply the adhesive.
Step 2: Apply The Adhesive
Once the holes are sewn shut, you can begin to apply the adhesive. We recommend using a strong, permanent adhesive for this job. You’ll want to apply a generous amount of adhesive around the perimeter of the hole, as well as in any other areas where the fabric is fraying or tearing.
Step 3: Apply The Fabric Patch
Once the adhesive is applied, you can then place the fabric patch over top of it. Make sure that the patch is large enough to cover the entire area of the hole. Once the product is in place, you can use a roller or your hands to smooth out any wrinkles or bubbles you may encounter.
Step 4: Allow The Adhesive To Dry Completely
After the patch is applied, you’ll need to allow the adhesive to dry completely before using the tent. Our recommendation is that you carry out this procedure in a well-ventilated area since it can take several hours to complete.
Step 5: Test The Patch
Once the adhesive is dry, you’ll want to test the patch to make sure it’s holding up. We recommend setting up the tent in your backyard and pitching it as usual. You’re ready to take your patched-up tent on your next camping adventure as long as everything looks good to you.
Patching a canvas tent is a quick and easy process that anyone can do. Following the steps above, you will be able to patch up your tent in just a few minutes after you have followed the steps above.
How do you repair a tear in a canvas tent?
If your tent has a tear in it, the first thing you’ll want to do is sew the hole shut. This will help prevent any further damage to the fabric and will make it easier to apply the adhesive. Once the holes have been stitched closed, it is now possible to start applying the adhesive once they have been sewn closed.
We recommend using a strong, permanent adhesive for this job. You’ll want to apply a generous amount of adhesive around the perimeter of the hole, as well as in any other areas where the fabric is fraying or tearing.
Once the adhesive is applied, you can then place the fabric patch over top of it. You will need to make sure that the patch is large enough to cover the entire area of the hole that needs to be repaired.
Once in place, you can use a roller or your hands to smooth out any wrinkles or bubbles. After the patch is applied, you’ll need to allow the adhesive to dry completely before using the tent.
This can take several hours, so we recommend doing this in a well-ventilated area. Once the adhesive is dry, you’ll want to test the patch to make sure it’s holding up.
We recommend setting up the tent in your backyard and pitching it as usual. If everything looks good, then you’re ready to take your patched-up tent on your next camping adventure!
Tips For Patching A Canvas Tent
- Use a strong, permanent adhesive for best results.
- Make sure the patch is large enough to cover the entire area of the hole.
- Allow the adhesive to dry completely before using the tent.
- Test the patch by pitching the tent in your backyard before taking it on your next camping trip.
- If you have any questions or need help, feel free to reach out to our customer service team for assistance.
Final words
I hope you found this blog post helpful in learning how to patch a canvas tent. If you have any further questions, please don’t hesitate to reach out to our customer service team for assistance. Thanks for reading!
Frequently Asked Questions
Do You Need To Patch All Tears In Your Canvas Tent?
Not all tears in your canvas tent need to be patched. If the tear is small, you may be able to get away with just sewing it shut. However, if the tear is large or if the fabric is fraying, we recommend patching it with a fabric patch.
When Should You Replace Your Canvas Tent?
Eventually, all tents will need to be replaced. Depending on how often you use your tent and how well you take care of it, a canvas tent can last anywhere from 5-10 years. If you notice that your tent is starting to show signs of wear and tear, it’s probably time for a new one.
What’s The Best Way To Repair A Canvas Tent?
There are a few different ways to repair a canvas tent, but we think the best way is to patch it with a fabric patch. This method is quick, easy, and will extend the life of your tent.
How Do You Care For A Canvas Tent?
Caring for a canvas tent is relatively simple. When you’re not using it, make sure to store it in a cool, dry place. If it gets dirty, you can spot clean it with a mild soap and water solution. We also recommend spraying it down with a waterproofing spray before each camping season.
By following these tips, you can keep your canvas tent in good condition for years to come!
What is the best glue to repair canvas?
There are a few different adhesives that can be used to repair canvas, but we recommend using a strong, permanent adhesive. This will ensure that the patch stays in place and doesn’t come off.
Is it better to sew or glue a canvas tent?
It depends on the size of the hole and the extent of the damage. If the hole is small, you may be able to get away with just sewing it shut. However, if the tear is large or if the fabric is fraying, we recommend patching it with a fabric patch.

![What Should I Look for in a Camp Cot? [2025 Guide]](/uploads/what-should-i-look-for-in-a-camp-cot.jpg)

![15 Tips To Keep Canopy From Blowing Away In Wind [2025 Guide]](/uploads/how-to-keep-canopy-from-blowing-away.jpg)
![How To Winterize Your Tent [2025 Guide]](/uploads/how-to-winterize-your-tent.jpg)
![How Much Water To Bring Camping [2025 Guide]](/uploads/how-much-water-to-bring-camping.jpg)