If you are like me, you hate being stranded on the side of the road. Recently I learned how to change a tire on a single axle travel trailer in case of such an emergency. In this blog post, I am going to share that information with you in case you find yourself in a similar situation.
Changing a tire on a single axle travel trailer is not difficult, but it does require some basic knowledge and tools. So, if you are ever faced with this task, be sure to follow these steps!
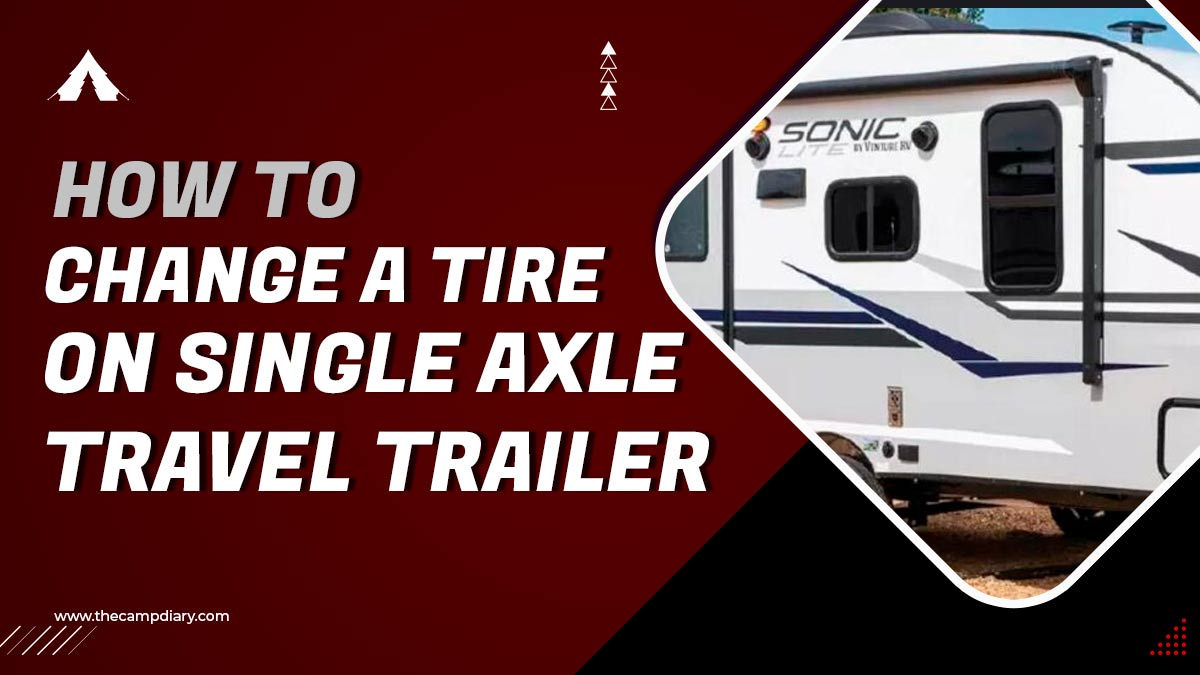
How to change a tire on a single axle travel trailer
Tools needed and their purpose of usage:
- A heavy duty jack to support the trailer while you work (this is especially important if you have a slide-out, as you don’t want your trailer to shift and potentially cause damage to your slide-out mechanism).
- A lug wrench to remove the wheel bolts.
- A crescent wrench to loosen/tighten the hubcap bolts (if your trailer has hubcaps).
- A socket wrench to remove the axle nut.
- A hammer to tap the new wheel onto the axle.
- A torque wrench to properly tighten the axle nut and wheel bolts.
If you don’t have a torque wrench, you can usually rent one from auto parts stores.
- Park your trailer on level ground and set the emergency brake. Make sure that your slide-out is fully retracted if you have one.
- Place the heavy duty jack under the trailer frame near the wheel that you need to change. It is necessary to slowly jack up the trailer until the tire is off the ground.
- Use the lug wrench to remove the wheel bolts. There are usually four or five bolts holding the wheel on. Once the bolts are removed, the tire will come right off.
- If your trailer has hubcaps, use the crescent wrench to remove the bolts holding them on. In order to be able to access the axle nut, you will need to do this first.
- Use the socket wrench to remove the axle nut. There is a possibility that you will need to use a lot of force to loosen this nut as it is usually very tight.
- Tap the new wheel onto the axle using a hammer. Make sure that the wheel is on snugly before moving on to the next step.
- Use the torque wrench to properly tighten the axle nut and wheel bolts. Refer to your owner’s manual for the proper torque settings.
- Lower the trailer back down to the ground and remove the jack.
- Test drive the trailer to make sure that the new tire is working properly.
Safety Tips To Follow When Changing A Tire On A Travel Trailer:
- Make sure that the trailer is parked on level ground before beginning any work.
- Always set the emergency brake before starting to work.
- If your trailer has a slide-out, make sure that it is fully retracted before changing the tire.
- Use a heavy duty jack to support the trailer while you work.
- Use a socket wrench to remove the axle nut. It is common for this nut to be very tight, so you may need to use a great deal of force in order to loosen it.
- Use a torque wrench to properly tighten the axle nut and wheel bolts. Refer to your owner’s manual for the proper torque settings.
- Test drive the trailer to make sure that the new tire is working properly.
Changing a tire on a travel trailer is not a difficult task, but it is important to follow all safety precautions in order to avoid injury or damage to your trailer. The installation of a new tire can be done in a short period of time with a few simple tools and careful work.
How Often Should You Replace Tires On A Travel Trailer?
The general rule of thumb is to replace tires on a travel trailer every five years, regardless of how much mileage they have on them. However, it is always a good idea to inspect your tires regularly for any signs of wear or damage. It may be time to replace your tire if you notice any cracks, bulges, or bald spots on the tire.
Also, if your trailer is starting to handle differently or feels unsteady on the road, new tires may be needed. Don’t wait until it’s too late- make sure to keep an eye on your tires and replace them as needed!
How Can I Know How Old My Tires Are?
There is a four digit code on the sidewall of every tire that indicates when it was manufactured. The first two digits represent the week of the year, and the last two digits represent the year. For example, if the code on your tire says “1914,” that means that the tire was manufactured during the 19th week of 2014.
Keep in mind that even if your tires are newer, they may still need to be replaced if they are showing signs of wear or damage. Always inspect your tires regularly and replace them as needed, regardless of how old they are.
What Are Some Of The Best Jack To Change A Tire On A Single Axle Travel Tire?
There are several different types of jacks that can be used to change a tire on a single axle travel trailer. A floor jack is a good option, as it is easy to use and can be placed under the trailer frame near the wheel that you need to change.
A scissor jack is another option, and is often easier to use than a floor jack. A hi-lift jack is also a good choice, as it can be used to lift the entire trailer off the ground if necessary.
Whichever type of jack you choose, make sure that it is rated for the weight of your trailer and that you know how to use it properly before attempting to change a tire.
Final words
Changing a tire on a single axle travel trailer can be done by following these simple steps. Finally, we would be remiss not to mention the importance of safety.
Changing a tire on a trailer is a relatively straightforward process, but it can still be dangerous if you’re not careful. Make sure that you have all of the necessary tools within reach before you start and take your time.
If at any point you feel uncomfortable or unsafe, stop what you’re doing and call for help. We hope that this guide has been helpful and that you never have to use it, but knowing how to change a tire on your travel trailer just in case can give you peace of mind while on the road. Have you changed a tire on your travel trailer before? Let us know about your experience in the comments section.
Frequently Asked Questions
How do you change a tire on a travel trailer?
Changing a tire on a travel trailer is not a difficult task, but it is important to follow all safety precautions in order to avoid injury or damage to your trailer. With a few tools and some careful work, you’ll have your new tire changed in no time!
-
Park the trailer on level ground and set the emergency brake.
-
If your trailer has a slide-out, make sure that it is fully retracted.
-
Use a heavy duty jack to support the trailer.
-
Use a socket wrench to remove the axle nut. This nut is usually very tight, so you may need to use a lot of force to loosen it.
-
Use a torque wrench to properly tighten the axle nut and wheel bolts. Refer to your owner’s manual for the proper torque settings.
-
Test drive the trailer to make sure that the new tire is working properly.
Where do you jack up a trailer?
When jacking up a trailer, it is important to place the jack on a solid surface. The best place to position the jack is under the frame near the wheel that you need to change. If your trailer has a slide-out, make sure that it is fully retracted before attempting to jack up the trailer.
Can you jack up a travel trailer by the axle?
No, you should not jack up a travel trailer by the axle. This could damage the axle and/or frame of the trailer. Always jack up the trailer by the frame, using a heavy duty jack.
How do you jack up a single axle on a travel trailer?
When jacking up a single axle on a travel trailer, it is important to place the jack on a solid surface. The best place to position the jack is under the frame near the wheel that you need to change. If your trailer has a slide-out, make sure that it is fully retracted before attempting to jack up the trailer.

![How To Cool a Tent Without Electricity [2025]](/uploads/how-to-cool-a-tent-without-electricity.jpg)
![How To Pack Meat For Camping - 10 Easy And Best Ways [2025]](/uploads/how-to-pack-meat-for-camping.jpg)
![Know About The Best Time To Go Camping [2025 Detailed Guide]](/uploads/best-time-to-go-camping.jpg)
![How To Layer Blankets For Maximum Warmth [2025 Guide]](/uploads/how-to-layer-blankets-for-maximum-warmth.jpg)