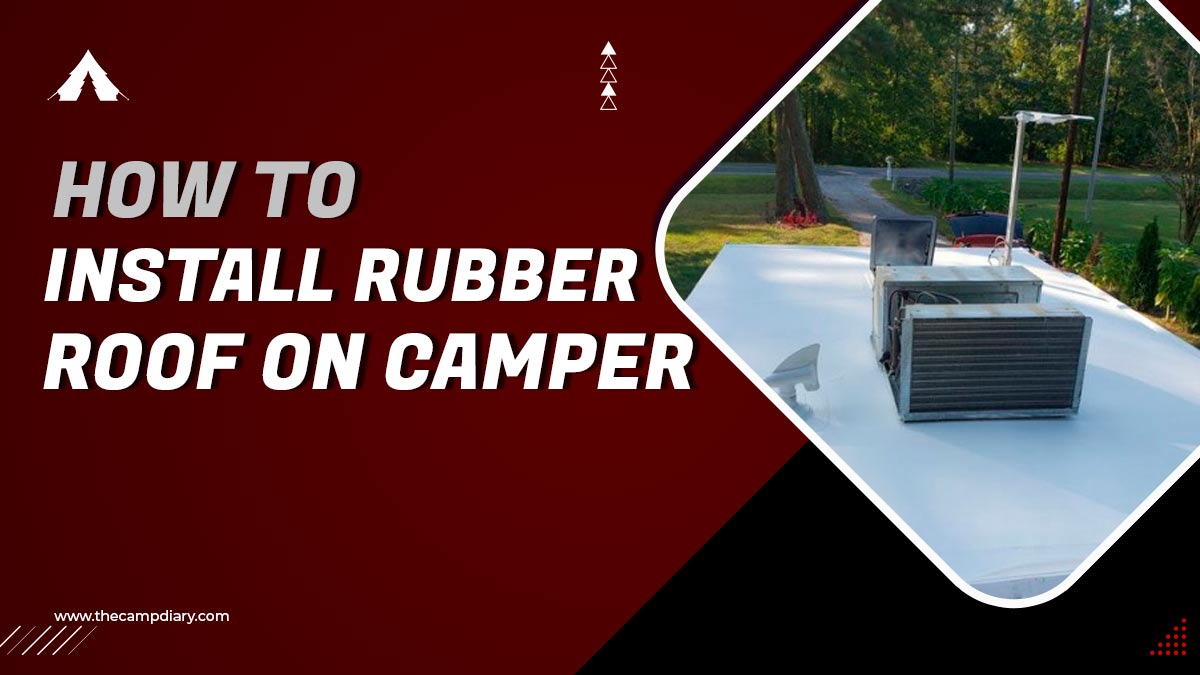
If you are looking to add a rubber roof to your camper, there are a few things you will need to know. In this blog post, we will walk you through the process of how to install a rubber roof on a camper.
We will provide tips and advice on what materials you will need and how to go about installing it yourself. So, if you are considering adding a rubber roof to your camper, keep reading!
How to install rubber roof on camper - 3 EASY methods
What You’ll Need
- Tape Measure
- Rubber Roofing Material (we recommend EPDM)
- Adhesive
- Roller or Brush
- Caulk Gun
- Utility Knife
Method 1: Installing a Rubber Roof on a Camper Using an Adhesive
- First, you will need to measure the length and width of your roof. Once you have these measurements, you can calculate the amount of rubber roofing material you will need.
- Next, you will need to cut the rubber roofing material to size. There should be a few inches of overhang on all sides of the roof if the building has more than one side.
- Once the rubber roofing material is cut to size, it’s time to apply the adhesive. We recommend using a roller or brush to apply an even layer of adhesive over the entire surface of the roof.
- Now it’s time to install the rubber roofing material. Starting at one end, unroll the material and lay it down on the adhesive. To get rid of wrinkles and bubbles, use a roller or brush to smooth them out.
- Continue unrolling and installing the rubber roofing material until the entire roof is covered. If there is any excess material around the edges, make sure to trim it off.
- Finally, caulk all around the edges of the roof to ensure a tight seal.
Method 2: Installing a Rubber Roof on a Camper Using Mechanical Fasteners
- First, you will need to measure the length and width of your roof. Once you have these measurements, you can calculate the amount of rubber roofing material you will need.
- Next, you will need to cut the rubber roofing material to size. In order for the building to be properly protected, you have to make sure that you leave a few inches of overhang on all sides of the building.
- Once the rubber roofing material is cut to size, it’s time to install it. Starting at one end, unroll the material and lay it down on the roof. Use a roller or brush to smooth out any wrinkles or bubbles.
- Continue unrolling and installing the rubber roofing material until the entire roof is covered. In order to make sure no excess material is left around the edges, make sure to trim it off.
- Now it’s time to install the mechanical fasteners. Starting at one end, apply a strip of adhesive and lay down the first course of fasteners. Repeat this process until the entire roof is covered.
- Finally, caulk all around the edges of the roof to ensure a tight seal.
Method 3: Installing a Rubber Roof on a Camper Using Rivets
- First, you will need to measure the length and width of your roof. Once you have these measurements, you can calculate the amount of rubber roofing material you will need.
- Next, you will need to cut the rubber roofing material to size. Make sure to leave a few inches of overhang on all sides.
- Once the rubber roofing material is cut to size, it’s time to install it. Starting at one end, unroll the material and lay it down on the roof. Use a roller or brush to smooth out any wrinkles or bubbles.
- Continue unrolling and installing the rubber roofing material until the entire roof is covered. Make sure to trim off any excess material around the edges.
- Now it’s time to install the rivets. Starting at one end, apply a strip of adhesive and lay down the first course of rivets. Repeat this process until the entire roof is covered.
6. Finally, caulk all around the edges of the roof to ensure a tight seal.
No matter which method you choose, be sure to follow the instructions carefully. You should also make sure that you allow plenty of time for the roof to cure before you start using your camper for the first time.
Additional Tips
- If you’re installing a rubber roof on a camper that has air conditioners or other rooftop accessories, make sure to cut out holes for them before you install the roofing material.
- It’s always a good idea to have someone help you when you’re installing a rubber roof. This will make the process go much smoother and faster.
- Make sure to clean the surface of your roof before you install the rubber roofing material. Any dirt or debris will prevent the adhesive from bonding properly.
- Be sure to read the instructions on your adhesive carefully before you begin. Some adhesives require the surface to be wetted before application, while others need to be dry.
- If you’re installing a rubber roof on a camper that will be parked in an area that gets a lot of sun, we recommend using a white or light-colored material. This will reflect the heat and keep your camper cooler.
- If you’re installing a rubber roof on a camper that will be parked in an area that gets a lot of snow, we recommend using a black or dark-colored material. This will absorb the heat and help prevent ice dams from forming.
Tips for Adding a Rubber Roof to Your Camper
- Be sure to clean the area where the new roof will be installed.
- Measure and cut the new roof to size, leaving about 2 inches of overlap on all sides.
- Use a welder, welding rod, and angle grinder for the welding method.
- Drill holes around the perimeter of the roof before riveting it in place.
- Allow the new roof plenty of time to cure before using your camper.
Final words
Installing a rubber roof on your camper can be a daunting task, but with the right instructions it can be done in as little as a day. We’ve outlined the steps you need to take to get your camper ready for its new roof and walk you through the installation process.
If you have any questions or run into any problems, don’t hesitate to reach out to us. We love helping our readers tackle DIY projects and are always happy to offer advice. Have you installed a rubber roof on your camper? What tips would you add? Let us know in the comments section.
Frequently Asked Questions
How do you install an RV rubber roof?
There are several ways to install an RV rubber roof, but the most common method is to use adhesive and mechanical fasteners. First, you will need to measure the length and width of your roof.
Once you have these measurements, you can calculate the amount of rubber roofing material you will need. Next, you will need to cut the rubber roofing material to size.
Make sure to leave a few inches of overhang on all sides. Once the rubber roofing material is cut to size, it’s time to install it. Starting at one end, unroll the material and lay it down on the roof.
Use a roller or brush to smooth out any wrinkles or bubbles. Continue unrolling and installing the rubber roofing material until the entire roof is covered.
Make sure to trim off any excess material around the edges. Now it’s time to install the rivets. Starting at one end, apply a strip of adhesive and lay down the first course of rivets. Repeat this process until the entire roof is covered. Finally, caulk all around the edges of the roof to ensure a tight seal.
Is a rubber roof easy to install?
Rubber roof is not difficult to install, but it is important to follow the instructions carefully. It’s always a good idea to have someone help you when you’re installing a rubber roof. This will make the process go much smoother and faster.
What is under a rubber roof?
A rubber roof is usually made of ethylene propylene diene monomer (EPDM) or chlorosulfonated polyethylene (CSPE). These materials are applied over a layer of insulation, which helps to regulate the temperature inside the RV.
How long does it take to install a rubber roof?
The time it takes to install a rubber roof will vary depending on the size of the RV and the experience of the installer. On average, it takes about two hours to install a rubber roof on a small RV, and four hours to install a rubber roof on a large RV.
Do you have to glue down rubber roofing?
No, you don’t have to glue down rubber roofing. However, we do recommend using adhesive and mechanical fasteners to secure the rubber roofing material in place. This will ensure a tight seal and prevent any leaks.
What do I need to install a rubber roof?
In addition to the rubber roofing material, you will need adhesive, mechanical fasteners (rivets), and caulk. You will also need a few tools, including a tape measure, scissors, a roller or brush, and an angle grinder.

![How To Take A Hot Shower While Camping - 3 Easy Ways [2025]](/uploads/how-to-take-a-hot-shower-while-camping.jpg)
![How Big Is a 4 Person Tent - [Features]](/uploads/how-big-is-a-4-person-tent.jpg)
![How Do I Stop My Travel Trailer From Rocking [10 Tips in 2025]](/uploads/how-do-i-stop-my-travel-trailer-from-rocking.jpg)
![10 Simple Ways To Reduce Smoke In Your Fire Pit [2025 Guide]](/uploads/how-to-reduce-smoke-in-your-fire-pit.jpg)
![How to Make a Roof Top Tent - [15 Detailed Ways 2025]](/uploads/how-to-make-a-roof-top-tent.jpg)